Many of us crave organization and productivity. If you already use Microsoft Office, then you already have the ultimate tool to sate that craving: Outlook 2013.
Outlook is vital in many organizations, not simply for its obvious email skills, but it’s calendaring, tasks, and contacts talents as well. A typical company can connect Outlook to an Exchange server, and everyone can share the same address book and calendars, making it a great tool for enterprise level collaboration.
Unfortunately, most folks don’t have an Exchange server set up in their home and probably don’t even know what that is. But, that’s okay, Outlook functions just as well on your home computer, and will still provide all the features that make it such a powerful productivity tool: e-mail, tasks, appointments, address books, and much more!

Working with Outlook – A Tiny Primer
Outlook isn’t going to dazzle you when you first open it. For all intents and purposes, it’s another application in the Microsoft Office ecosystem and as such, it’s going to have quite a few familiar elements.
Unlike other popular Office apps, however, Outlook is largely built around its different functions – Word is primarily for creating text documents, Excel is all about spreadsheets, PowerPoint does presentations – but Outlook is a app of many hats.
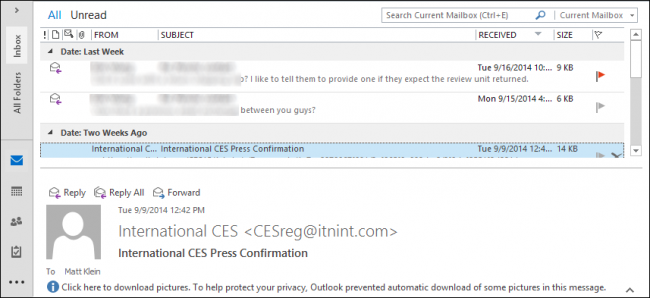
Outlook’s default view is the inbox, along the top is the Ribbon, which is hidden in this view to save screen space.
Love them or hate them, Ribbons are everywhere throughout Office. We don’t need to spend any more time going over the relative merits of their existence, obviously they’re here to stay. That said, always remember, if you want to quickly hide or show the Ribbon, just use CTRL+F1.

If you click on any of the menu functions at the top, the Ribbon shows and you can choose functions and tools. If you want the Ribbon to persist, you can use “CTRL+F1” or click the small pushpin icon in the bottom-right corner.
The Home tab on the Ribbon changes contextually depending on the mode you’re in. In the above screenshot, we see our options for Mail.
Below, the Home tab has changed to reflect the Calendar’s options. Note, the Ribbon is pinned so the pushpin has changed to an arrow in case you want to collapse it again (or use “CTRL+F1”).
The remaining Ribbon tabs – Send/Receive, Folder, View and, of course File – are all largely consistent for whatever mode you’re in. We’ll take a closer look at all of them in the next section.
Let’s take a quick look at how to move between modes and change your view. Along the left edge, you see the folder pane. At the bottom of this pane are shortcuts to Outlook’s modes. In this example, you see icons for the Inbox, Calendar, People, Tasks, and so on.
If you click on the arrow at the top of navigation pane, it will expand the pane, which will display the folder tree for your email account.
Similarly, if you switch to the Calendar mode, you will see the applicable view in the folder pane.
Click on the three dots to access further Outlook modes, such as Notes, Folders, and Outlook shortcuts. Choose the “Navigation Options” and you can change the order in which the navigations elements appear.
Turning off “Compact Navigation” will appeal to users with larger resolution displays. You can also increase or reduce how many items appear and the order they appear.
Send/Receive
The Send/Receive tab is geared specifically toward Inbox functions but it will appear in the other modes (Calendar, Tasks, etc.) too, though they won’t have the same functionality.
For example, here we see the Calendar’s Send/Receive tab, which eschews the Server section.