To create a header or footer:
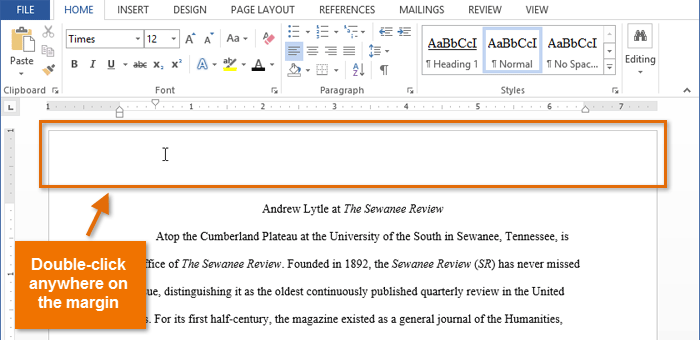
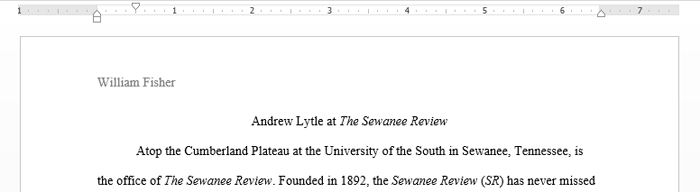
In our example, we want to display the author's name at the top of each page, so we'll place it in the header.- Double-click anywhere on the top or bottom margin of your document. In our example, we'll double-click the top margin.
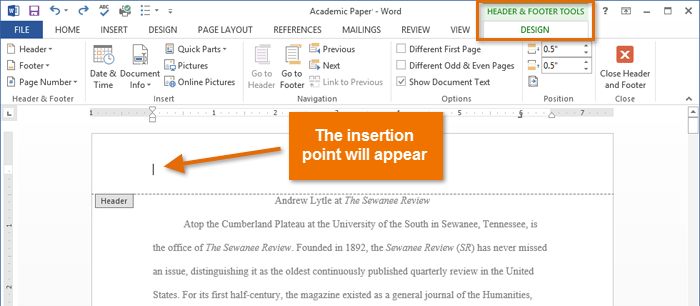
- The header or footer will open, and a Design tab will appear on the right side of the Ribbon. The insertion point will appear in the header or footer.
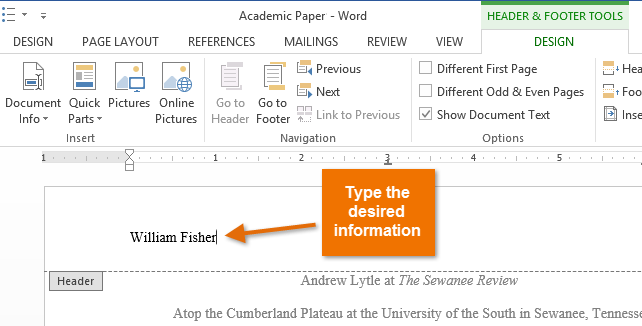
- Type the desired information into the header or footer. In our example, we'll type the author's name.
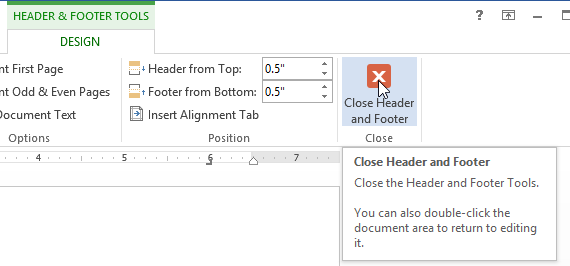
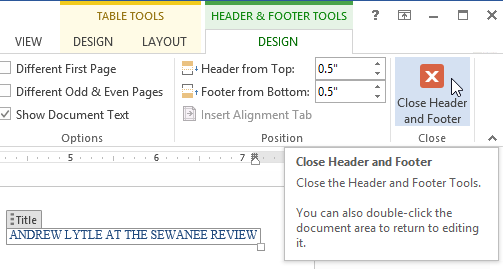
- When you're finished, click Close Header and Footer. Alternatively, you can press the Esc key.
- The header or footer text will appear.
To insert a preset header or footer:
Word has a variety of preset headers and footers you can use to enhance your document's design and layout. In our example, we'll add a preset header to our document.- Select the Insert tab, then click the Header or Footer command. In our example, we'll click the Header command.

- In the menu that appears, select the desired preset header or footer. In our example, we'll select a header.

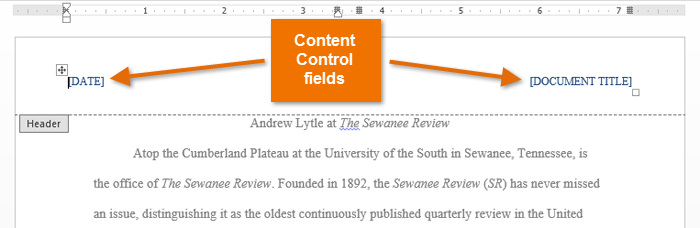
- The
header or footer will appear. Preset headers and footers contain
placeholders for information such as the title or date; they are known
as Content Control fields.
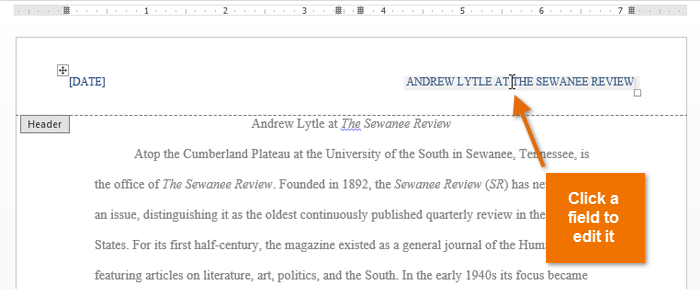
- To edit a Content Control field, click it and type the desired information.
- When you're finished, click Close Header and Footer. Alternatively, you can press the Esc key.
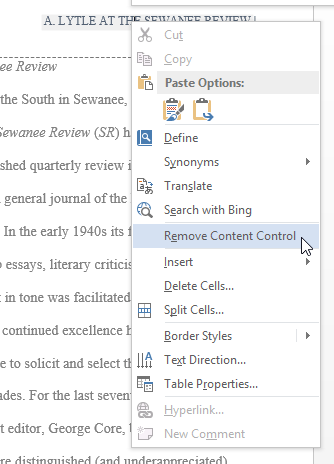
If you want to delete a Content Control field, right-click it and select Remove Content Control from the menu that appears.