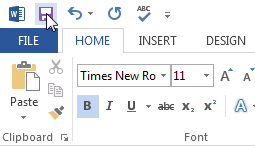
- Locate and select the Save command on the Quick Access toolbar.
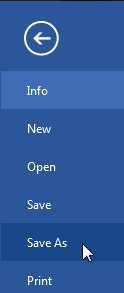
- If you're saving the file for the first time, the Save As pane will appear in Backstage view.
- You'll then need to choose where to save the file and give it a file name. To save the document to your computer, select Computer, then click Browse. Alternatively, you can click OneDrive to save the file to your OneDrive.

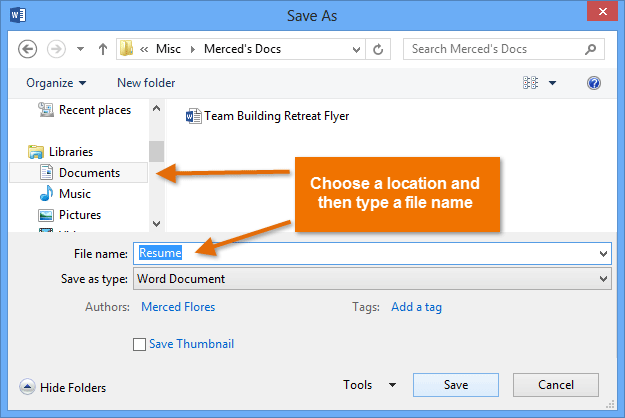
- The Save As dialog box will appear. Select the location where you want to save the document.
- Enter a file name for the document, then click Save.
- The document will be saved. You can click the Save command again to save your changes as you modify the document.
You can also access the Save command by pressing Ctrl+S on your keyboard.
Using Save As to make a copy
If you want to save a different version of a document while keeping the original, you can create a copy. For example, if you have a file named Sales Report, you could save it as Sales Report 2 so you'll be able to edit the new file and still refer back to the original version.To do this, you'll click the Save As command in Backstage view. Just like when saving a file for the first time, you'll need to choose where to save the file and give it a new file name.
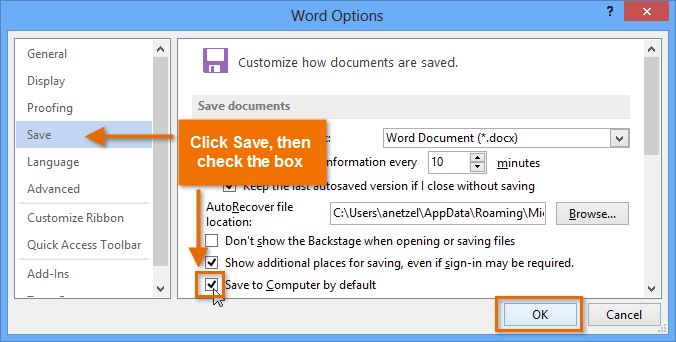
To change the default save location:
If you don't want to use OneDrive, you may be frustrated that OneDrive is selected as the default location when saving. If you find it inconvenient to select Computer each time, you can change the default save location so Computer is selected by default.- Click the File tab to access Backstage view.
- Click Options.
- The Word Options dialog box will appear. Select Save, check the box next to Save to Computer by default, then click OK. The default save location will be changed.